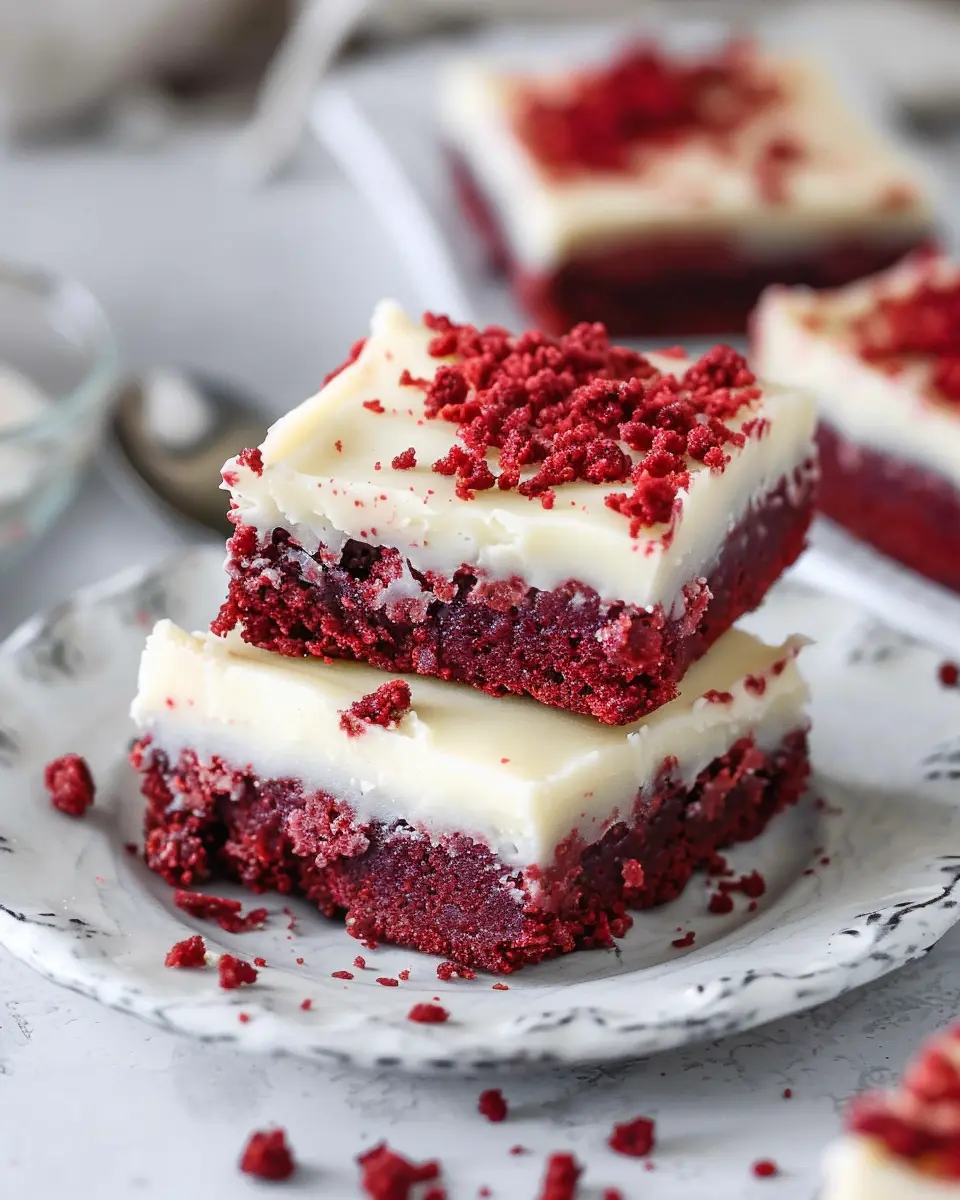
Introduction to Red Velvet Cookie Bars
Are you looking for a delightful dessert that combines the beloved flavors of red velvet cake with the chewy, comforting texture of cookie bars? Look no further! Red velvet cookie bars are a must-try treat that will satisfy your sweet tooth and impress your friends at any gathering.
Why are Red Velvet Cookie Bars a Must-Try?
First off, let’s talk about flavor. The rich chocolate undertones paired with a hint of vanilla and a dash of tanginess from buttermilk create a unique taste that is both nostalgic and indulgent. It’s the perfect treat for birthday parties, holidays, or just a cozy night in with your favorite movie.
These bars are not just tasty; they’re incredibly easy to make! With just a few simple ingredients and minimal prep time, you can whip up a batch that’s sure to delight. There’s something satisfying about baking from scratch, and the smell of red velvet cookies baking in the oven is simply irresistible.
You might be wondering how they differ from traditional red velvet cupcakes. While cupcakes can be delightful, they often require more effort to frost and serve. Cookie bars, on the other hand, can be cut into squares, making them easy to share and perfect for parties. Plus, they’re easy to transport, so you can bring them along to gatherings or simply enjoy them at home.
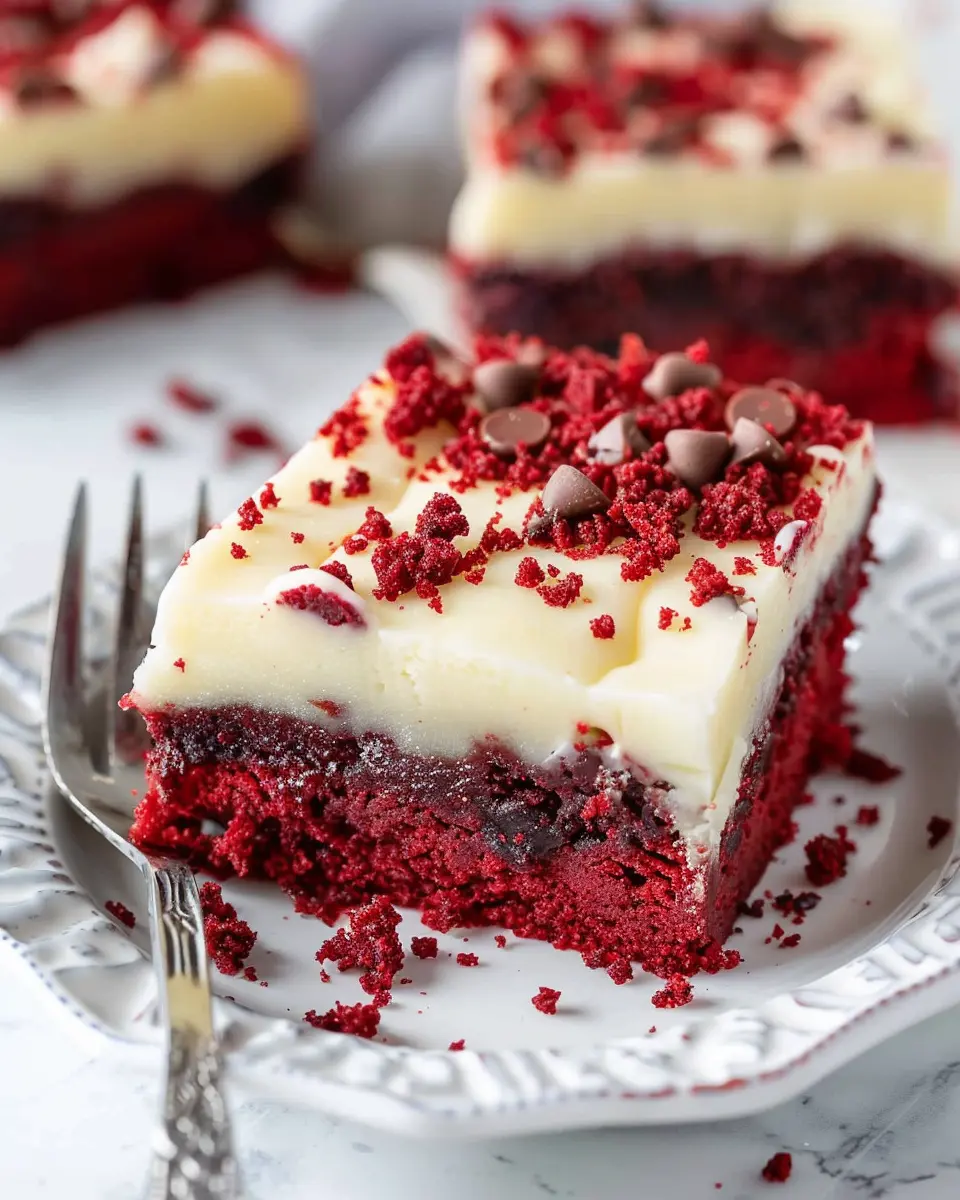
What’s even better is that you can personalize your red velvet cookie bars to suit your taste. Want to add chocolate chips for extra decadence? Go for it! Craving a cream cheese glaze on top? Why not! The versatility of this dessert allows you to get creative and put your unique twist on it.
If you’re searching for more inspiration, consider checking out The Kitchn for tips on baking techniques and flavor combinations. Or, for a deeper dive into the origin of red velvet desserts, visit Serious Eats.
Now that you’re ready to jump into the world of red velvet cookie bars, let’s get baking!
Ingredients for Red Velvet Cookie Bars
Key ingredients for cookie bars
When you’re ready to whip up some delectable red velvet cookie bars, gathering the right ingredients is essential for achieving that iconic flavor and texture. Here’s what you’ll need:
- All-purpose flour: Gives structure to your bars.
- Cocoa powder: A key player in deepening that rich red velvet flavor.
- Granulated sugar: For sweetness and moisture.
- Brown sugar: This adds a lovely depth of flavor.
- Butter: Make sure it’s softened to create the perfect chewy texture.
- Eggs: These help bind everything together and add richness.
- Red food coloring: The star of the show that gives these bars their signature hue.
- Baking soda and salt: For leavening and balance.
This combination will provide a delightful cookie experience, bringing smiles all around!
Essential ingredients for cream cheese frosting
What’s red velvet cookie bars without a creamy topping? Here’s a quick list of what you need to make a luscious cream cheese frosting that pairs perfectly:
- Cream cheese: The base of your frosting—choose a block for a firmer texture.
- Unsalted butter: Adds richness and blends well.
- Powdered sugar: For that sweet touch and smooth consistency.
- Vanilla extract: Just a splash lifts the flavor to new heights.
- Milk or cream: This helps achieve the perfect spreadable texture.
Creating these cookie bars with frosting not only satisfies your sweet tooth but also impresses friends during gatherings! If you’re looking for some tips on using cream cheese in your baking, check out this expert guide. You’re sure to become a pro in no time!
Step-by-step Preparation of Red Velvet Cookie Bars
If you’ve ever craved something indulgent yet delightfully easy to whip up, these red velvet cookie bars are your perfect solution. They embody the rich flavor of classic red velvet cake while delivering the convenience of a cookie bar. Let’s dive right into the preparation process!
Gather and Prepare Your Ingredients
To start, make sure you have everything you need before diving into the mixing and baking. The beauty of these cookie bars lies in their straightforward ingredient list, which typically includes:
-
Dry Ingredients:
-
2 cups all-purpose flour
-
1 teaspoon baking soda
-
1 teaspoon cocoa powder
-
½ teaspoon salt
-
Wet Ingredients:
-
½ cup unsalted butter, softened
-
1 cup granulated sugar
-
1 large egg
-
1 tablespoon red food coloring
-
1 teaspoon vanilla extract
-
½ cup buttermilk or a substitute (like milk mixed with vinegar)
-
For the Frosting:
-
4 oz cream cheese, softened
-
½ cup unsalted butter, softened
-
3 cups powdered sugar
-
1 teaspoon vanilla extract
P.S. Don’t forget to preheat your oven to 350°F (175°C) when you start gathering your ingredients — it saves time later on!
Mix the Dry Ingredients
In a mixing bowl, combine your dry ingredients. Why is this important? Mixing them first ensures that the leavening agents, salt, and chocolate powder are evenly distributed throughout the flour. To do this, whisk together the flour, baking soda, cocoa powder, and salt until they’re well blended. Homespun cooking tip: Sifting your flour can help remove lumps and aerate it, making your cookie bars even fluffier!
Create the Cookie Dough
In a large bowl, cream together the softened butter and sugar until light and fluffy, about 2-3 minutes. Just imagine how good this will feel, as you’re mixing in that buttery goodness! Next, incorporate the egg, red food coloring, and vanilla extract. After those are well combined, gradually add the dry mixture, alternating with the buttermilk, until everything is just combined. Pro Tip: Don’t overmix! You want that perfect chewy texture.
Bake the Cookie Bars
Spread the cookie dough evenly into a greased or lined baking pan, ensuring it reaches all corners. Bake in your preheated oven for 20-25 minutes or until a toothpick inserted in the center comes out clean. Allow yourself to be patient here; the aroma will fill your kitchen, and trust me, it’ll be worth the wait! Once baked, transfer to a wire rack to cool completely before frosting.
Prepare the Cream Cheese Frosting
While your red velvet cookie bars cool, go ahead and whip up that sumptuous cream cheese frosting. Beat the softened cream cheese and butter in a bowl until creamy. Gradually add the powdered sugar and vanilla extract, mixing until smooth and spreadable. If you find the frosting too thick, add a splash of milk to get that perfect consistency.
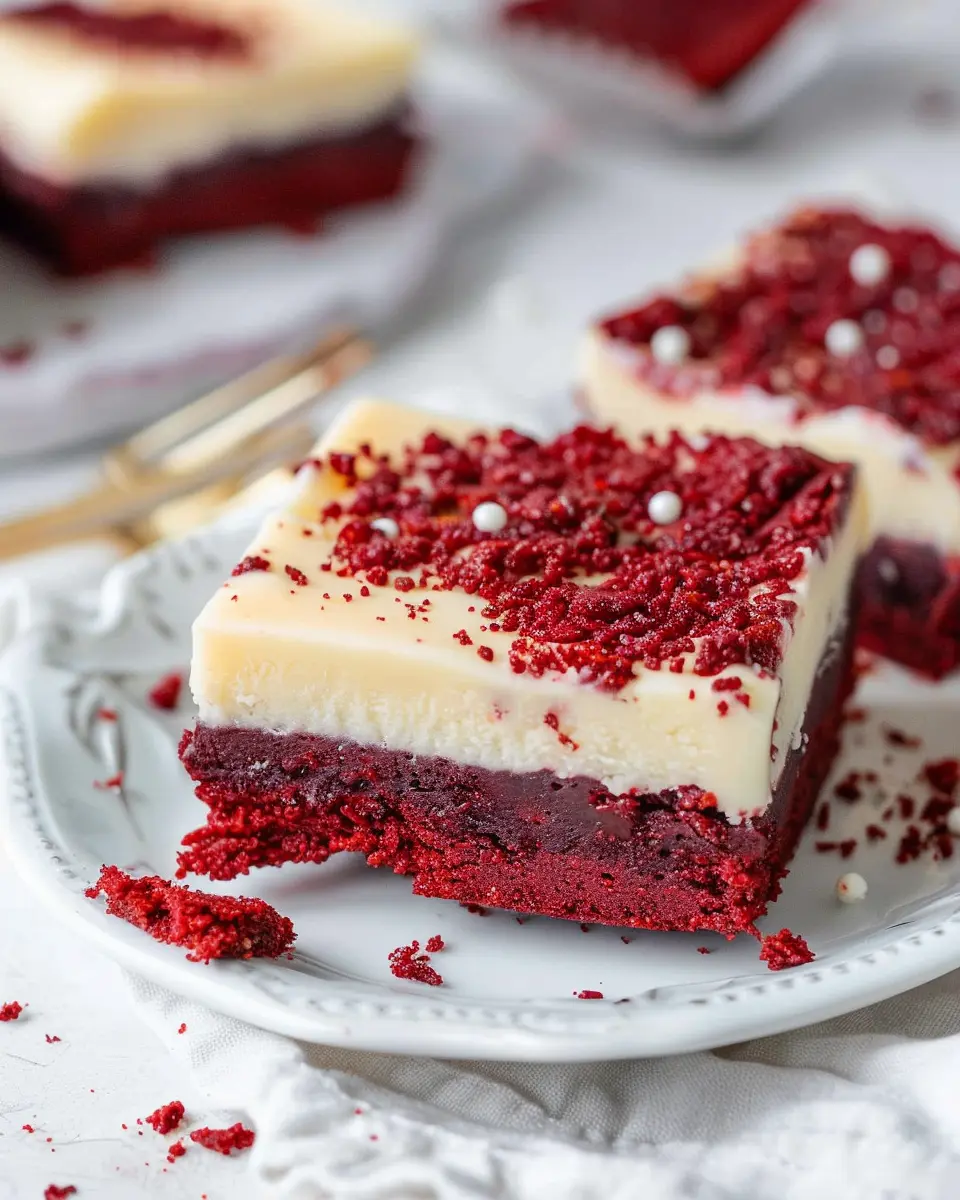
Frost the Cooled Bars
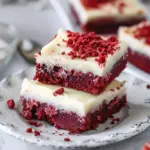
Finally, it’s time for the pièce de résistance! Once your cookie bars are completely cooled, generously spread the cream cheese frosting on top. For a fun twist, consider sprinkling some red velvet cake crumbs over the frosting for decoration. Slice these beauties into squares and share (or don’t—no judgment here!).
There’s nothing like treating your friends or indulging in a personal dessert moment with homemade red velvet cookie bars. Remember, baking is not just about following a recipe; it’s about expressing your creativity and love for delicious food. Enjoy every bite!
For more dessert inspiration, check out The Kitchn or Taste of Home. Happy baking!
Variations on Red Velvet Cookie Bars
Gluten-free Red Velvet Cookie Bars
If you or someone you know is gluten-free, you can still enjoy these delightful red velvet cookie bars! Simply swap out the all-purpose flour for your favorite gluten-free blend. Many great options, like almond flour or coconut flour, can give a unique twist while keeping that classic red velvet flavor. Just be sure to check the texture; you might need to adjust the liquid ingredients slightly. Adding a spoonful of xanthan gum can help mimic the chewiness of traditional cookies. For extra richness, use a gluten-free cream cheese frosting on top.
Tip: Always check ingredient labels to avoid hidden gluten—your taste buds will thank you!
Vegan Red Velvet Cookie Bars
Craving something delicious that’s also plant-based? Vegan red velvet cookie bars are a fantastic choice. For this variation, simply replace the eggs with one of several effective substitutes. Consider using flax eggs (mix 1 tablespoon of ground flaxseed with 2.5 tablespoons of water and let it sit until slightly gel-like) or applesauce. Use a plant-based butter or coconut oil instead of regular butter, and substitute dairy cream cheese with a vegan version found at most grocery stores.
To enhance the flavor, add a hint of espresso powder—believe it or not, it enhances the chocolate notes beautifully! You’ll end up with bars that are not only visually striking with their vibrant color but also completely satisfying.
So, which variation are you excited to make? Whether you choose gluten-free or vegan, you can still enjoy a deliciously chewy and rich dessert. For more inspiration, check out expert tips on creating perfect cookie bars on sites like King Arthur Baking or Minimalist Baker. Happy baking!
Cooking Tips and Notes for Red Velvet Cookie Bars
Tips for Achieving the Perfect Texture
To create the ideal red velvet cookie bars, focus on the balance of wet and dry ingredients. Overmixing can lead to tough bars, so mix just until combined. A key tip is to chill the dough for about 30 minutes before baking; this helps solidify the fats, resulting in a chewy center with slightly crispy edges. Using room-temperature butter can enhance the dough’s creaminess, so don’t skip this step!
Storage Tips for Cookie Bars
Once baked, let your red velvet cookie bars cool completely in the pan. For storage, place them in an airtight container lined with parchment paper. You can keep them at room temperature for up to 5 days, or refrigerate for a longer shelf life. If you need them to last even longer, consider freezing them! Just wrap each bar tightly in plastic wrap and then in aluminum foil. They can stay fresh in the freezer for up to three months. Check out this guide on cookie storage for more tips!
Serving Suggestions for Red Velvet Cookie Bars
When it comes to serving your delightful red velvet cookie bars, there are endless ways to elevate the experience. Here are some creative suggestions that will leave your friends and family impressed!
Creative ways to serve
- Dessert Platter: Arrange these bars on a colorful platter alongside mini cupcakes or cake pops for an eye-catching display.
- A La Mode: Crumble a warm cookie bar over a scoop of vanilla ice cream for a decadent treat that’s perfect for sharing.
- Drizzled Delight: Top with a silky cream cheese glaze or a drizzle of white chocolate for an extra touch of sweetness.
Pairings that complement the bars
To enhance the flavor of your red velvet cookie bars, consider these pairings:
- Beverages: Enjoy with a cup of rich coffee or a refreshing iced herbal tea. Their contrasting flavors will balance the sweetness of the bars beautifully.
- Fruits: Fresh raspberries or strawberries make an excellent accompaniment, providing a tart contrast that cuts through the richness.
- Savory Snacks: Serve alongside turkey bacon or chicken ham bites for a delightful sweet-and-salty combination that tantalizes the taste buds.
These serving suggestions are all about creating a delightful culinary experience that everyone will love! For more ideas, check out this helpful guide on dessert pairings.
Time Breakdown for Red Velvet Cookie Bars
When you’re ready to whip up a batch of red velvet cookie bars, it’s helpful to know how much time you’ll need. Here’s a quick breakdown so you can plan accordingly!
Preparation Time
Getting everything ready will take about 15-20 minutes. This includes measuring your ingredients, mixing your batter, and lining your baking dish. Pro tip: Lay out all your ingredients first to streamline the process.
Baking Time
These delicious bars take around 25-30 minutes to bake. You’ll want to keep an eye on them – the edges should be set while the center might be slightly soft. A toothpick test works wonders here!
Total Time
In total, you’re looking at around 45-50 minutes from start to finish. Perfect for a quick dessert or a treat for a gathering!
By keeping an eye on your timing, you’ll ensure your red velvet cookie bars come out perfectly moist and rich every time. For more time-saving tips and delicious recipes, check out AllRecipes or Food Network!
Nutritional Facts for Red Velvet Cookie Bars
When it comes to a delightful dessert like red velvet cookie bars, it’s always good to know what you’re savoring! Here’s a quick look at the nutritional stats to help you enjoy these bars without guilt.
Estimated calories per bar
Each bar typically contains about 200-250 calories. Perfect for an occasional treat, but make sure to enjoy them in moderation!
Nutritional breakdown
Let’s break it down a bit more:
- Carbohydrates: Approximately 30g
- Protein: Around 3g
- Fats: Roughly 10g
- Fiber: 1g
These red velvet cookie bars offer a flavorful experience while still fitting into a balanced diet. If you’re curious about the health benefits of ingredients like cocoa powder or whole wheat flour, check out this nutrition expert’s guide for insights into how sweet treats can integrate into a healthy lifestyle.
While it’s tempting to indulge, keeping an eye on these facts can help you enjoy every bite just a little bit more. Remember, it’s all about balance—what’s your favorite way to pair them with a healthy snack?
FAQs about Red Velvet Cookie Bars
Can I make them in advance?
Absolutely! One of the great things about red velvet cookie bars is that they store well. You can bake them ahead of time, then let them cool completely. Store the bars in an airtight container at room temperature for a couple of days or in the fridge for up to a week. Just be sure to layer parchment paper between the bars if you’re stacking them—nobody likes a sticky mess!
How can I make them less sweet?
If you find traditional red velvet cookie bars on the sweeter side, there are a few strategies to dial back the sweetness:
- Reduce the sugar: Try cutting the sugar by 1/4 cup.
- Add a pinch of salt: It can enhance flavors and balance the sweetness.
- Incorporate less sweet ingredients: Consider adding dark chocolate chips or walnuts, which can help offset the overall sweetness.
What can I substitute for red food coloring?
If you’re looking to skip the artificial food coloring, there are natural alternatives you can use:
- Beet juice: It provides a lovely color and a hint of earthy flavor.
- Pomegranate juice: This option will give your bars a beautiful hue, plus a touch of tanginess.
- Pureed raspberries: They add color and a fruity note, perfect for those who enjoy a twist.
For more tips on color substitutes in baking, check out resources like the Food Network or Serious Eats. Engaging with these options not only makes your red velvet cookie bars unique but also healthier!
Conclusion on Red Velvet Cookie Bars
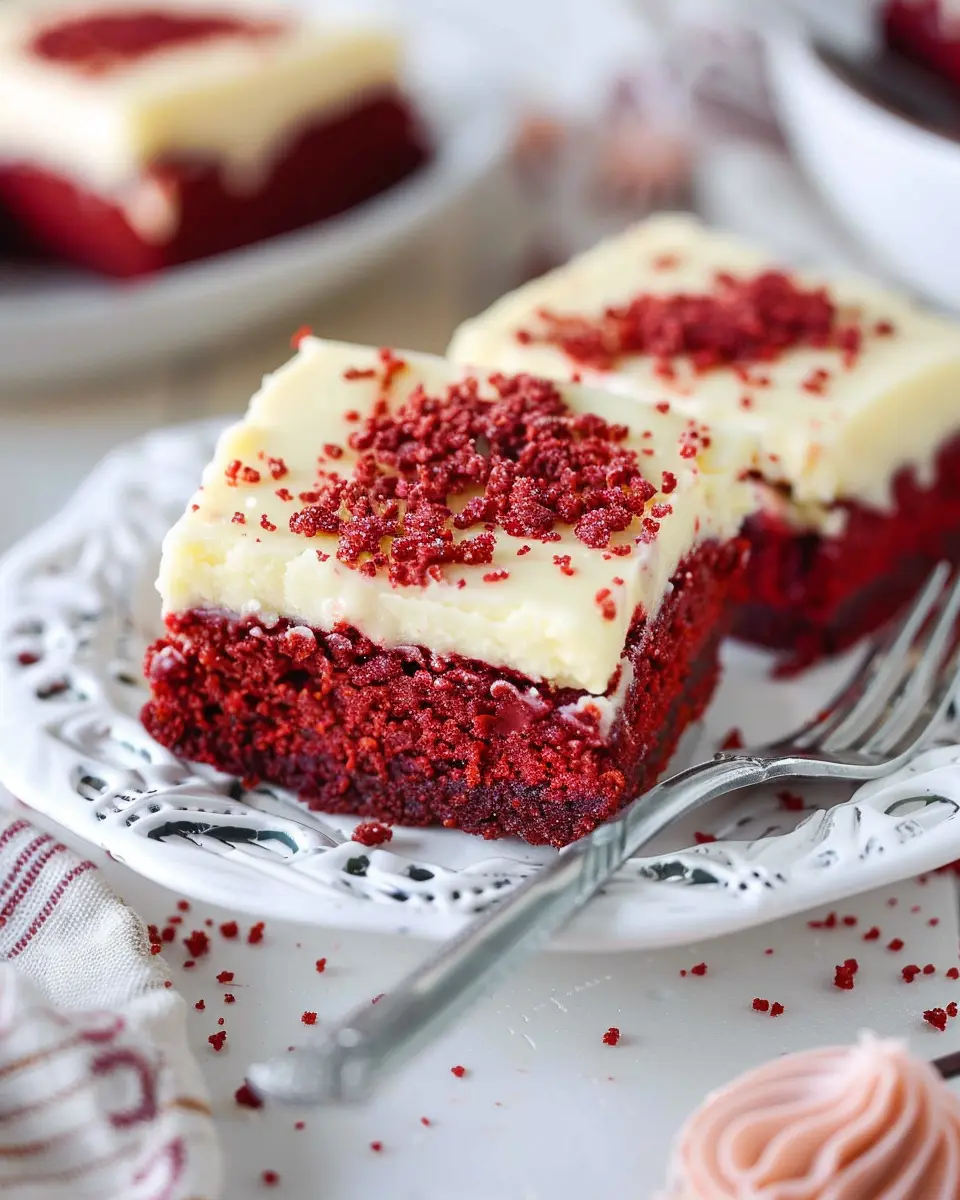
Final thoughts on making these delicious treats
Deciding to bake red velvet cookie bars is a fantastic way to impress friends or simply treat yourself. These delightful treats offer the perfect combination of rich flavor and chewy texture, making them ideal for any occasion—from casual get-togethers to special celebrations. Plus, they’re super easy to whip up!
Don’t forget to experiment with additions like white chocolate chips or cream cheese frosting drizzles for a personalized touch. Remember, the key is in the balance of flavors and colors that make these bars so unique. For more tips on customizing your baking, check out this expert guide. Enjoy baking and sharing!
PrintRed Velvet Cookie Bars: Indulgent Treats for Every Occasion
Experience the delightful taste of Red Velvet Cookie Bars, perfect for any celebration or as a sweet treat.
- Prep Time: 15 minutes
- Cook Time: 30 minutes
- Total Time: 45 minutes
- Yield: 24 bars
- Category: Dessert
- Method: Baking
- Cuisine: American
- Diet: Vegetarian
Ingredients
- 1 cup unsalted butter
- 2 cups all-purpose flour
- 1 cup granulated sugar
- 1 cup brown sugar
- 2 large eggs
- 2 tablespoons red food coloring
- 1 teaspoon vanilla extract
- 1 teaspoon baking powder
- 1/2 teaspoon baking soda
- 1/2 teaspoon salt
- 1 cup white chocolate chips
Instructions
- Preheat your oven to 350°F (175°C).
- In a large bowl, cream together the butter, granulated sugar, and brown sugar until smooth.
- Beat in the eggs, food coloring, and vanilla until well combined.
- In a separate bowl, whisk together the flour, baking powder, baking soda, and salt.
- Gradually add the dry ingredients to the wet ingredients, mixing until just combined.
- Fold in the white chocolate chips.
- Spread the mixture into a greased baking pan.
- Bake for 25-30 minutes, or until a toothpick inserted into the center comes out clean.
- Let cool before cutting into bars.
Notes
- These cookie bars can be topped with cream cheese frosting for extra indulgence.
- Store any leftovers in an airtight container at room temperature.
Nutrition
- Serving Size: 1 bar
- Calories: 250
- Sugar: 20g
- Sodium: 150mg
- Fat: 12g
- Saturated Fat: 7g
- Unsaturated Fat: 4g
- Trans Fat: 0g
- Carbohydrates: 30g
- Fiber: 1g
- Protein: 3g
- Cholesterol: 30mg