Introduction to Red Velvet Cupcakes
When it comes to dessert, few treats capture the heart and palate quite like red velvet cupcakes. These delightful confections are not just about their eye-catching red hue; they bring a unique flavor profile that beautifully combines hints of cocoa with a buttery richness. But what truly makes red velvet cupcakes a crowd-pleaser? Let’s dive in!
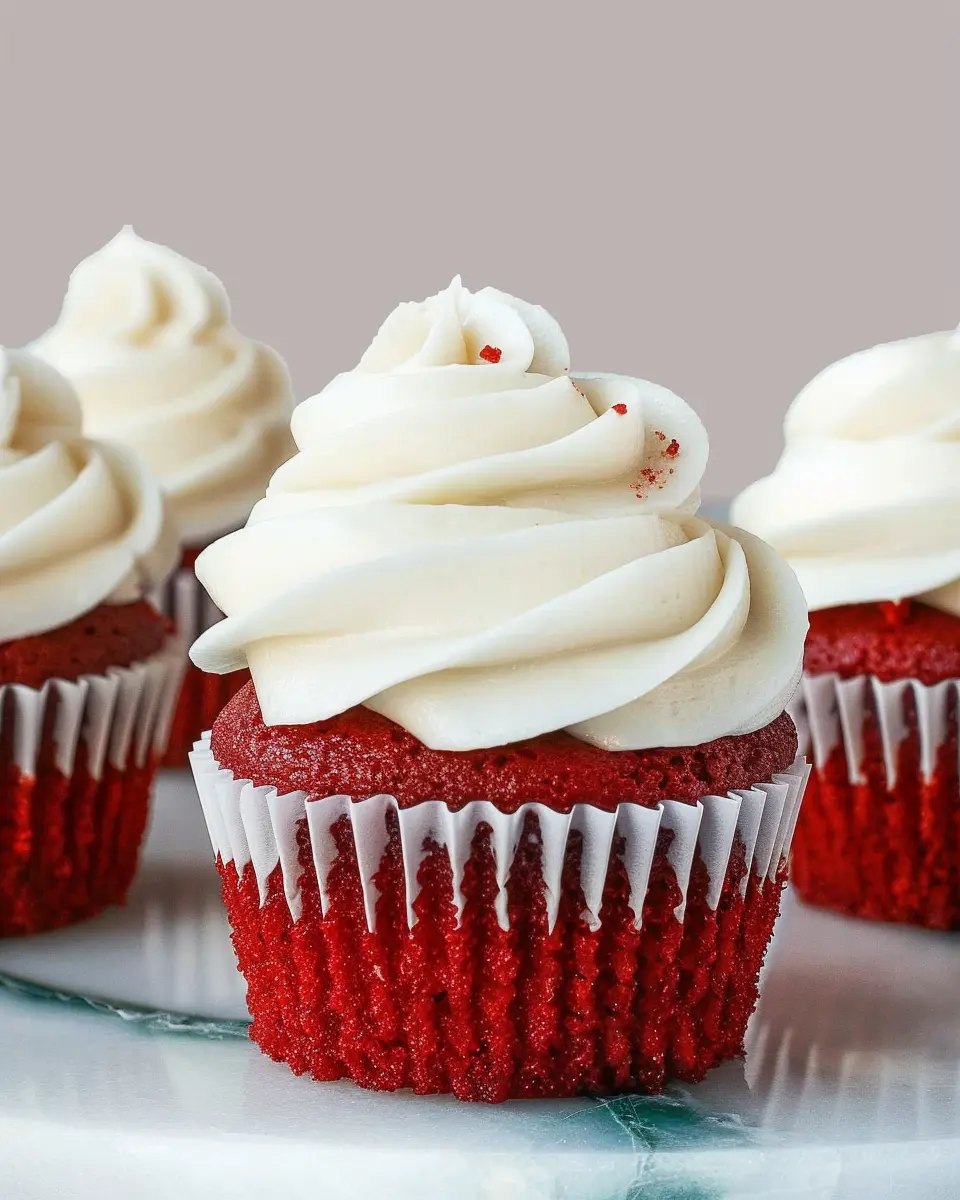
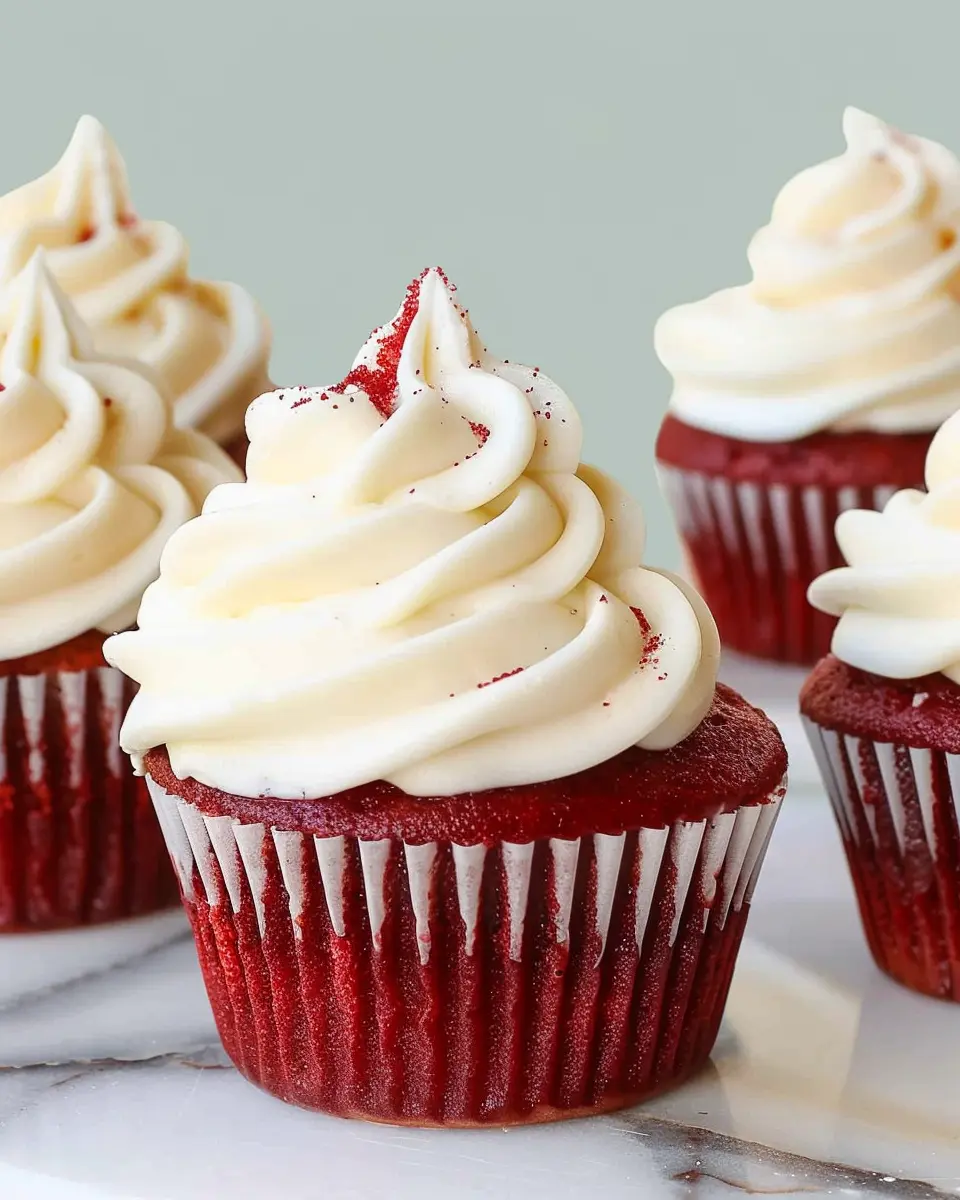
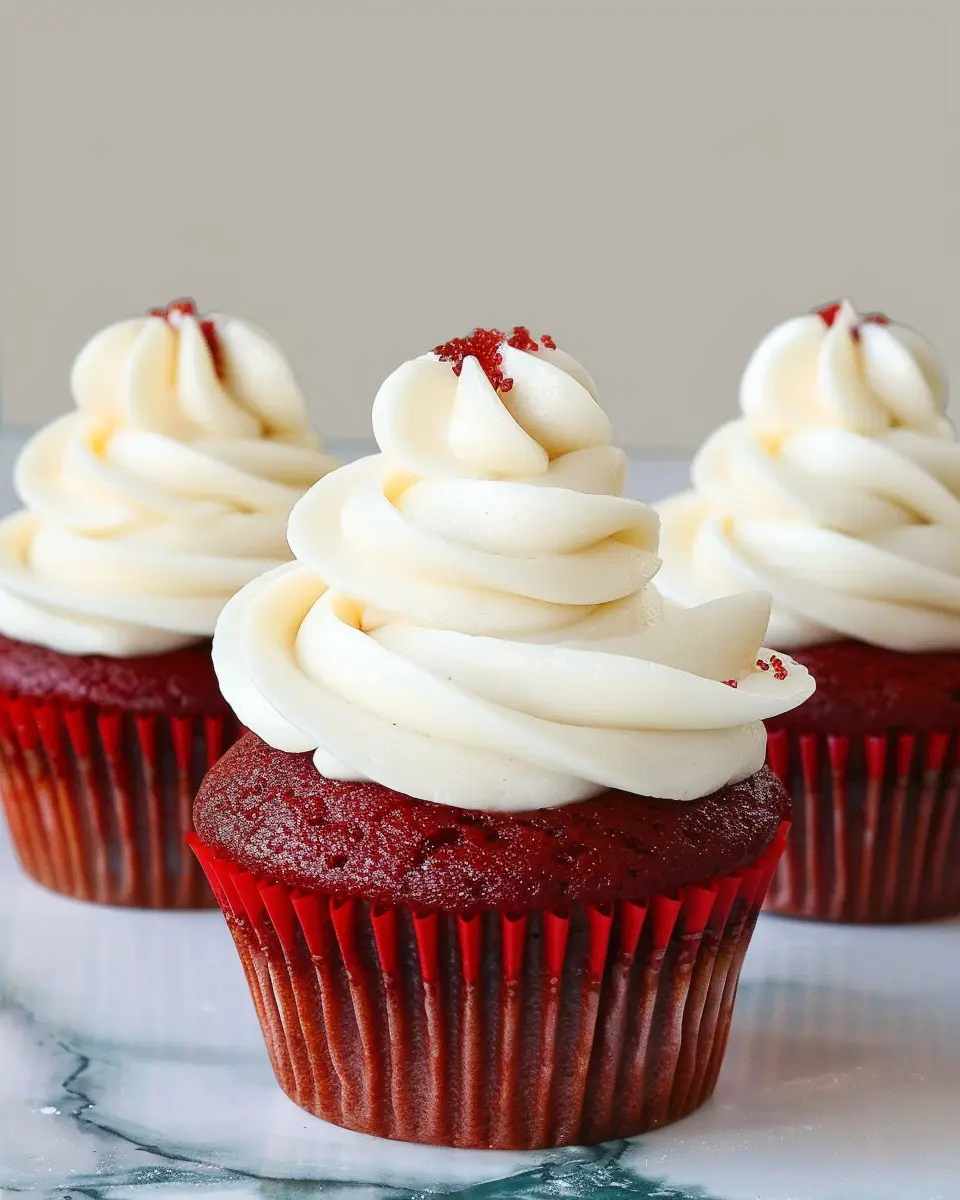
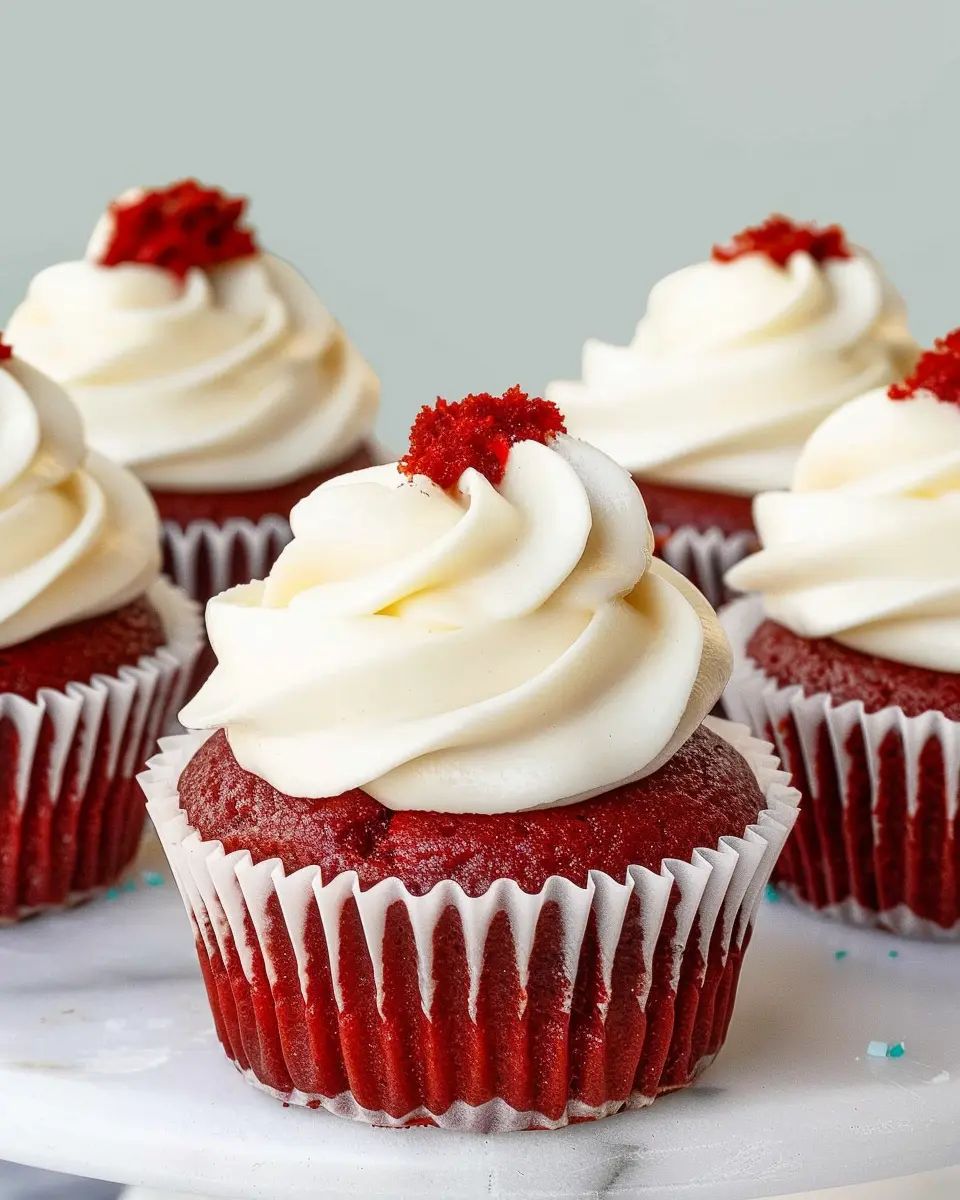
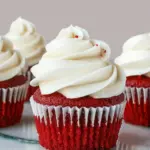
First and foremost, the signature color of these cupcakes is undeniably captivating. The striking red, often paired with a creamy white frosting, creates a visual appeal that can brighten any gathering—be it a birthday party, wedding, or simple afternoon celebration. According to The New York Times, their dramatic appearance adds a touch of elegance that can elevate even the simplest of occasions.
But it’s not just looks that matter. The taste takes center stage when you take that first bite. The tender crumb—thanks to ingredients like buttermilk and vegetable oil—results in a moist cupcake that melts in your mouth. Meanwhile, the subtle chocolate notes from cocoa powder give it an irresistible sweetness.
Here’s what else makes these red velvet cupcakes such a hit:
- Versatility: They can be dressed up or down. Whether you’re hosting a sophisticated event or enjoying a casual get-together with friends, these cupcakes adapt beautifully to the occasion.
- Frosting Options: While traditional cream cheese frosting is a favorite, you can experiment with buttercream, whipped cream, or even ganache. This opens up a world of flavor combinations.
- Sharing the Love: Red velvet cupcakes are perfect for sharing. Their individual servings make them easy to distribute and enjoy, building a sense of community with each bite.
So, if you’re looking for a recipe that is as fun to make as it is to eat, you can’t go wrong with red velvet cupcakes. Stay tuned as we guide you through the process of creating your own batch—trust us, your friends and family will thank you for it!
Ingredients for Red Velvet Cupcakes
When crafting red velvet cupcakes, having the right ingredients is key to elevating your baking game. The combination of flavors and colors will not only tantalize your taste buds but also catch the eye! Here’s what you will need:
- All-purpose flour: 1 ½ cups, gives the cupcakes structure.
- Granulated sugar: 1 cup, to impart sweetness.
- Baking powder: 1 teaspoon, for that fluffy texture.
- Salt: just a pinch to balance flavors.
- Cocoa powder: 1 tablespoon, the unsweetened kind adds a subtle chocolate essence.
- Vegetable oil: ½ cup, ensures moistness.
- Buttermilk: 1 cup, a creamy base that adds richness.
- Eggs: 2 large, they act as a binder for the batter.
- Red food coloring: 2 tablespoons, the star of the show for that vibrant hue.
- Vanilla extract: 1 teaspoon, for a hint of warmth.
- White vinegar: 1 teaspoon, which reacts with the baking soda for that ideal rise.
Now that you’re familiar with these essential ingredients, you’re on your way to creating mouth-watering red velvet cupcakes! For tips on perfecting your baking techniques, check out resources from The Spruce Eats or BBC Good Food. Happy baking!
Preparing Red Velvet Cupcakes
Making red velvet cupcakes is not just a baking task; it’s a delightful experience! Whether you’re gearing up for a special occasion or simply treating yourself, these rich, moist cupcakes topped with velvety cream cheese frosting are bound to impress. Here’s how to prepare your red velvet cupcakes step by step.
Gather your ingredients
Before you start, ensure you have everything you need to whip up your red velvet cupcakes. Here’s what you’ll need:
- 1 ½ cups all-purpose flour
- 1 cup granulated sugar
- 1 teaspoon baking soda
- 1 teaspoon cocoa powder
- ½ teaspoon salt
- 1 cup vegetable oil
- 1 cup buttermilk (or substitute with a DIY version using milk and vinegar)
- 2 large eggs
- 2 tablespoons red food coloring
- 1 teaspoon vanilla extract
- 1 teaspoon white vinegar
Having all your ingredients on hand streamlines the cooking process and keeps you organized.
Preheat the oven and prepare your muffin tins
First things first, preheat your oven to 350°F (175°C). This step is crucial for ensuring your cupcakes rise perfectly. While the oven warms up, prepare your muffin tins. You can use paper liners for easier cleanup or grease them lightly with cooking spray to prevent sticking.
Mix the dry ingredients together
In a large mixing bowl, whisk together the dry ingredients: flour, sugar, baking soda, cocoa powder, and salt. This not only helps in evenly distributing the leavening agents but also prevents clumping. Mixing your dry ingredients first is a fundamental step in most baking recipes, and it sets the foundation for your red velvet cupcakes.
Whisk together the wet ingredients
In another bowl, combine the wet ingredients: vegetable oil, buttermilk, eggs, red food coloring, vanilla extract, and white vinegar. Whisk vigorously until the mixture is smooth. The red food coloring is what gives these cupcakes their signature hue, so don’t skip this step! If you’re wondering about alternatives to food coloring, beet juice can offer a natural option—though it might yield a more muted red.
Combine wet and dry ingredients
Now that both mixtures are ready, it’s time to combine them. Gradually add the wet ingredients to the dry ones, stirring gently after each addition until just combined. Your batter should be smooth but be careful not to overmix; a few lumps are totally acceptable. This harmony between the dry and wet ingredients leads to those moist and tender red velvet cupcakes we all love.
Fill the muffin tins
Using a ladle or ice cream scoop, fill each muffin cup about two-thirds full with the cupcake batter. This will leave enough room for the cupcakes to rise without overflowing. If you’re aiming for uniform shapes, using a scoop is a lifesaver!
Bake and cool the cupcakes
Place the filled muffin tins in the preheated oven and bake for about 20-25 minutes, or until a toothpick inserted in the center comes out clean. Once baked, remove them from the oven and allow the cupcakes to cool in the pans for about 10 minutes before transferring them to a wire rack to cool completely. Cooling is essential to ensure your cream cheese frosting doesn’t melt into a puddle—no one wants that!
Make the cream cheese-mascarpone frosting
While your cupcakes are cooling, let’s whip up that divine frosting! Combine 8 oz of cream cheese, 8 oz of mascarpone cheese, ½ cup powdered sugar, and 1 teaspoon of vanilla extract in a mixing bowl. Beat until the mixture is light and fluffy. This combo creates a rich, creamy frosting that perfectly complements your red velvet cupcakes.
Frost the cooled cupcakes
Once your cupcakes are completely cool, it’s time to frost them. Use a piping bag for an elegant look or simply spread the frosting with a knife for a more rustic touch. You can also sprinkle some cocoa powder or grated chocolate on top for added flair.
In conclusion, these red velvet cupcakes are not just a treat; they’re a labor of love that results in a delicious delight perfect for any occasion. Happy baking!
Variations on Red Velvet Cupcakes
Red velvet cupcakes are a timeless treat, but who says we can’t have fun with them? Let’s explore two delightful variations that cater to different tastes and dietary needs.
Indulgent Red Velvet Cupcakes with Chocolate Chips
If you’re a chocolate lover (who isn’t?), consider adding mini chocolate chips to your red velvet cupcakes. This decadent twist balances the rich cocoa flavor with pockets of melted chocolate. To make these, simply fold in about half a cup of mini chocolate chips into your batter before baking. The result? A rich, moist cupcake with delightful bursts of sweetness that pair perfectly with the original cream cheese frosting. You might find yourself stealing bites before the frosting even makes its way onto the cupcake!
Delicious Gluten-Free Red Velvet Cupcakes
For those following a gluten-free lifestyle, red velvet cupcakes can be just as fabulous! Swap out regular flour for a gluten-free flour blend—just make sure it contains xanthan gum, which helps bind the ingredients. You may also want to check this helpful guide on how to choose the best gluten-free flour options here. The flavor remains rich and luscious, ensuring that no one will miss out on this classic dessert. Top these gluten-free red velvet cupcakes with a smooth cream cheese frosting for a treat that everyone, gluten-free or not, can enjoy!
With these variations, you can cater to your guests’ preferences while keeping the beloved essence of classic red velvet alive. What are your favorite ways to customize cupcakes? Share your thoughts in the comments!
Baking Tips for Red Velvet Cupcakes
Creating mouthwatering red velvet cupcakes can feel daunting, but with a few handy tips, you’ll master them in no time! Here are some insights to make your baking experience seamless and enjoyable.
Use Fresh Ingredients
Always check the expiration dates on your baking supplies. Fresh ingredients, especially baking powder and cocoa, are crucial for achieving that perfect rise and rich color.
Embrace the Cream Cheese Frosting
The tangy cream cheese frosting is the star of the show. Consider adding a splash of vanilla extract or a hint of lemon juice to give it a little extra flavor that complements the red velvet perfectly.
Don’t Overmix Your Batter
When you mix the batter, do so just until the ingredients are combined. Overmixing can lead to dense cupcakes rather than light, fluffy ones. Remember, a little lumps is okay!
Experiment with Color Intensity
If you prefer a more vibrant hue, feel free to adjust the food coloring. Just be mindful to not go overboard—too much can affect the flavor.
For more exceptional baking tips, check out resources like King Arthur Baking or Joy of Baking. They’re fantastic for exploring new techniques!
Serving Suggestions for Red Velvet Cupcakes
When it comes to red velvet cupcakes, serving them can elevate your dessert experience from delightful to spectacular. Here are some creative ideas to consider:
Classic Pairings
- Cream Cheese Frosting: The traditional topping that perfectly complements the moistness and cocoa notes of red velvet cupcakes. Its tangy flavor balances the sweetness beautifully.
- Fresh Fruits: Add a pop of color and freshness with sliced strawberries or raspberries. These berries not only look great but also add a refreshing contrast.
- Nut Toppings: Consider sprinkling some chopped pecans or walnuts on top for a delightful crunch.
Unique Serving Ideas
- Cupcake Stand: Arrange your red velvet cupcakes on a tiered stand for an impressive presentation at parties or events. It adds an inviting charm that guests will adore.
- Themed Decor: For holidays or special occasions, use themed decorations (think sprinkles or edible glitter) to match your celebration’s color scheme.
Drinks to Complement
Pair your red velvet cupcakes with a creamy, cold drink, such as a vanilla milkshake or a rich hot chocolate. Both options will complement the flavors and provide a satisfying end to your meal.
For more inspiration, check out this delicious cupcake decorating guide or explore creative dessert pairings that will elevate your next gathering!
Time details for Red Velvet Cupcakes
Preparation time
Making red velvet cupcakes is a breeze! You’ll spend about 15 to 20 minutes gathering your ingredients and mixing up that delicious batter. Just think of the vibrant color that’s about to come to life!
Baking time
Once your cupcakes are in the oven, they’ll need around 20 to 25 minutes to bake. The aroma wafting through your kitchen will definitely get your taste buds tingling!
Total time
In total, you’re looking at about 40 to 50 minutes from start to finish. In less time than it takes to binge-watch an episode of your favorite show, you can serve up these delightful red velvet cupcakes. Celebrate with a cherry on top, or whip up some cream cheese frosting to elevate that flavor! For more baking tips, check out this expert advice from a great source like King Arthur Baking. Happy baking!
Nutritional information for Red Velvet Cupcakes
When indulging in red velvet cupcakes, it’s good to know what you’re treating yourself to in terms of nutrition. These delightful bites can be part of a balanced diet if enjoyed mindfully.
Calories
Each cupcake typically contains around 200 calories, which can vary based on the ingredients used. This makes them a delightful yet moderate sweet treat.
Protein
On average, you can expect about 2-3 grams of protein per cupcake. While they aren’t a significant source, every bit counts when you’re fueling your day!
Sugar content
Expect around 18-20 grams of sugar in each red velvet cupcake. This sweet element contributes to their appealing taste but should be enjoyed in moderation, especially when considering daily sugar limits.
For more details on healthy baking options, you might check out resources from The Academy of Nutrition and Dietetics or explore alternatives to sugar and fat that can help reduce calorie content without sacrificing flavor. Knowing what’s in your treats empowers you to enjoy them even more!
FAQs about Red Velvet Cupcakes
Can I make red velvet cupcakes without food coloring?
Absolutely! If you prefer a more natural approach, you can create red velvet cupcakes without artificial food coloring. Many home bakers use beet juice or even pomegranate juice to achieve a lovely red hue. Not only do these alternatives add a hint of sweetness, but they also enhance the cupcakes’ moistness. It’s a fantastic way to maintain that classic flavor while keeping things a bit healthier.
What can I substitute for buttermilk?
Don’t worry if you’re out of buttermilk! You can easily whip up a substitute for your red velvet cupcakes. Combine one cup of milk—whole or low-fat—with one tablespoon of lemon juice or white vinegar. Let it sit for about 5-10 minutes until it thickens slightly. This mixture mimics buttermilk perfectly, providing the tangy flavor and acidity needed for the right texture in your cupcakes.
How do I store leftover cupcakes?
Storing leftover red velvet cupcakes is simple! If you have any delicious morsels left over, place them in an airtight container at room temperature for up to three days. If you want to keep them fresh for longer, refrigerate them. Be sure to let them come to room temperature before serving, as this helps to retain their moistness. For an even longer shelf life, consider freezing them. Just wrap each cupcake tightly in plastic wrap and then place them in a freezer-safe container. Enjoy your cupcakes with confidence, knowing they can be stored safely!
If you’re looking for more baking tips, feel free to explore Baking Basics from King Arthur Flour and discover how to perfect your cupcake creations!
Conclusion on Red Velvet Cupcakes
In summary, red velvet cupcakes are more than just a treat; they serve as a canvas for creativity in the kitchen. With their delightful blend of flavors and stunning appearance, they are perfect for any occasion — from casual gatherings to upscale celebrations. Whether you choose to frost them with a classic cream cheese frosting or experiment with unique toppings, the potential is endless.
As you bake, take a moment to savor the process — after all, making these cupcakes can be a joyous experience! Don’t hesitate to explore variations and make the recipe your own. For more inspiration, check out tips on Creative Baking. Happy baking!
PrintRed Velvet Cupcakes: Indulgent Treats for Every Celebration
Delight in these rich and velvety red velvet cupcakes, perfect for any celebration.
- Prep Time: 20 minutes
- Cook Time: 25 minutes
- Total Time: 45 minutes
- Yield: 12 cupcakes
- Category: Desserts
- Method: Baking
- Cuisine: American
- Diet: Vegetarian
Ingredients
- 1 1/2 cups all-purpose flour
- 1 cup granulated sugar
- 1/2 cup vegetable oil
- 1 cup buttermilk
- 2 large eggs
- 2 tablespoons red food coloring
- 1 teaspoon vanilla extract
- 1 teaspoon baking soda
- 1 teaspoon white vinegar
- 1/2 teaspoon salt
Instructions
- Preheat your oven to 350°F (175°C) and line a muffin tin with cupcake liners.
- In a bowl, whisk together the flour, baking soda, and salt.
- In another bowl, mix the vegetable oil, sugar, and eggs until well combined.
- Add the buttermilk, food coloring, and vanilla extract to the wet ingredients, stirring well.
- Gradually combine the dry ingredients into the wet mixture until just blended.
- Finally, mix in the vinegar until the batter is smooth.
- Fill the cupcake liners about 2/3 full with batter.
- Bake for 20-25 minutes or until a toothpick comes out clean.
- Let cool completely before frosting.
Notes
- For a richer flavor, let the cupcakes sit overnight before serving.
- Top with cream cheese frosting for an indulgent experience.
Nutrition
- Serving Size: 1 cupcake
- Calories: 250
- Sugar: 18g
- Sodium: 250mg
- Fat: 12g
- Saturated Fat: 2g
- Unsaturated Fat: 8g
- Trans Fat: 0g
- Carbohydrates: 33g
- Fiber: 1g
- Protein: 2g
- Cholesterol: 30mg